How to record a Highlight Video
Remember that a Video Highlight is only one of the three types of Real Estate Videos that you can record with the housiders app. Find more information on the link 👉🏼 Types of Real Estate Videos.
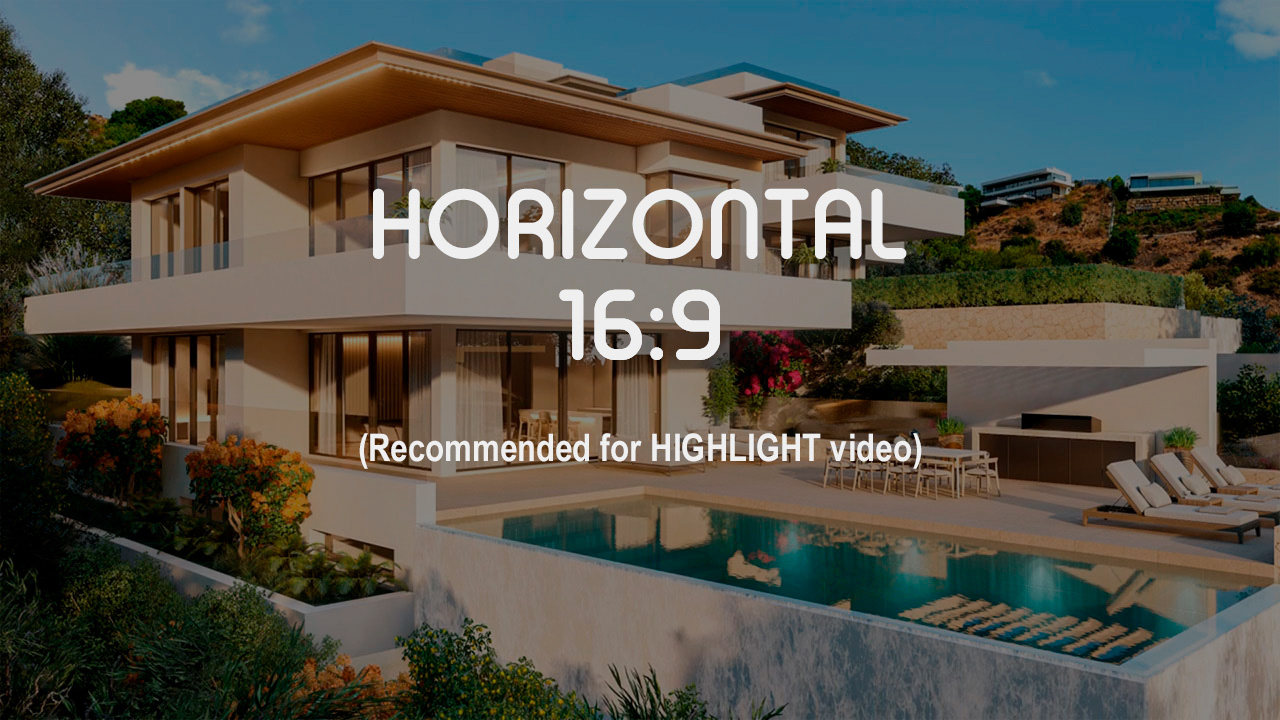
A Highlight is a short video whose purpose is to capture attention, generate interest and attract potential buyers or renters through a quick and eye-catching presentation, highlighting the most attractive aspects of the property, using a combination of cinematic shots and attractive music.
Take a look at the following video, 👇🏼 to get an idea of the final result.
Índice de contenidos
1. How to record a Highlight?
Open the housiders app. Select the “New Project” option.
2. Add the Reference (it must be unique for each project and cannot contain spaces or symbols, only letters, numbers or hyphen under “_”). Optionally you can add a Project Name (so that you can locate the project more easily; e.g. Villa 5 Calle Real).
3. In the “Media” tab, you can record your video clips (bottom red button) or upload one from your terminal (bottom “upload” button).
4. Finally, once you have recorded or uploaded all your clips (in horizontal format), click on the bottom black “create” button.
* Before clicking the create button, you have a choice:
Sort clips: activate the option (sort stays in manual option). Press a clip, keep it pressed and drag it to the desired position. Repeat the process until all the clips are sorted as you like (once sorted, you cannot leave this screen or the changes will not be saved). Press the create button to finish.
2. In which format should we record?

It should be recorded in horizontal format, to take advantage of the entire screen, transmit more emotions and achieve greater impact.
Turn your cell phone so that the camera lens is on the left side.
3. How long should a Highlight video be?
A Highlight video usually takes 1 minute and never more than two minutes.

To achieve a final 1-minute video, a minimum of 20 to 30 shots of about 2 to 3 seconds each, captured from different angles, are needed.
They are short shots to transmit dynamism.
Look at the duration of each shot in the example video: 2:08, 1:46, 1:38, 2:02, 1:40 …
4. Key movements
The goal is to achieve fluid movements and for that, you need to practice them several times. From the app, you can preview what you have recorded and repeat it if you think the shot is not quite right.
Push In
Forward movement of the camera, approaching the object.
It is effective in creating a sense of immersion and guiding the viewer through the space in a natural way. It can be used in any room.
In a highlight, it should not be a very long movement, a couple of seconds is enough to get a dynamic shot.
It is one of the most used movements in this type of videos. From a Highight of about 30 shots, almost half of them should be of this movement.
It looks very good in transitions with other movements, i.e. if the previous shot, the movement is a horizontal displacement, the next one could be a forward movement.
Pull Out
Movement of the camera backward, away from the object.
Ideal for creating a sense of amplitude and connecting different spaces It can be used in any room and to create a smooth transition between scenes.
Just like the Push In movement, in a
highlight, it should not be a very long movement
a couple of seconds is enough to get a dynamic shot.
You can use it to enlarge the view of a room, showing the entirety of a space from a specific focal point. It is also widely used to show decorative elements. Start with a close-up of a decorative detail and then do a Pull Out to reveal the entire room.
Tilt
Tilt is a vertical movement up and down or vice versa.
Ideal for narrow spaces such as bathrooms or small kitchens or to highlight tall architectural features such as high ceilings or large windows.
As with panning, it may help to imagine a vertical line in the scene you are recording and follow it.
You should try to make the movement slow and continuous.
You can make variations and mix the Pan and Tilt movements, resulting in a diagonal movement, which looks very nice in the video and so you will have another resource.
Revelation shot
The camera moves from behind an object or wall to reveal something hidden. It usually starts with a side shift (Pan) or upward movement (Tilt).
It is an effective technique that creates a discovery effect that can capture the viewer’s attention and hold their interest.
It is very useful for Revealing Panoramic Views, Uncovering Additional Spaces, Emphasizing Architectural Elements, Showing the Connection between Spaces, Highlighting Decorative Elements, Revealing Outdoor Entertainment Areas, Showing Design Details…
Horizontal Movement (Pan)
Panning, or horizontal movement, can be from left to right or vice versa.
Useful to show the amplitude of a room or the connection between different spaces. Do not abuse this movement.
It is a movement that requires some practice to achieve a fluid movement.
A trick that can help you is to try to imagine a horizontal line in the scene you are going to record and follow it.
You can start the movement away from the object you want to record, for example from a corner of the room or start from a lower position and closer to an object, such as a kitchen table or at the height of an armchair; this, apart from being a new resource, can help you to make the movement more stable and fluid, since the line of the table or the armchair will serve as a guide.
Orbital shot
It is to move the camera in an arc around an object or point of interest.
It is very useful to add dynamism, depth and perspective to your shots. You can use it on decorative elements, stairs, lamps…
The smooth and continuous movement helps to keep the viewer’s attention, making the video more dynamic and less static.
Aerial shot (drone)
They are a valuable tool in real estate video production, providing unique perspectives and panoramic views that cannot be captured from the ground.
These shots not only show the property in its entirety, but also highlight its surroundings and adjacent features. They enhance the visual presentation of the property and give a professional look.
You can add aerial scenes to the video you are creating with the app. Visit the link 👉🏼 How to upload drone scenes?
5. Scenes and Angles
Includes interior and exterior scenes of the property. Focus on highlights such as the garden, kitchen, living room, bedrooms, bathroom or any other feature that makes the property stand out and include decorative elements that deserve to be highlighted.
It is important to walk around the property before you start shooting to find out what elements can enhance your video and from which angles to shoot them.
In properties with few rooms, you can record in each room about 3 or 4 shots from different angles, introducing more decorative elements if any, to get a video with a duration close to a minute.
👈🏼 Notice in the following example video, how for a single room, the living room, up to 5 short shots are used to highlight the room taken from different angles.
6. Tips for creating an impactful video
It is necessary to create an emotionally involving, dynamic video and this is achieved by combining different types of shots, angles and movements.
There are several things to keep in mind when you are shooting:
Show only what you want to highlight.
Sometimes, you make the mistake of trying to show in detail a whole room (that’s what the HuseTour is for).
You don’t have to record the whole room, it is preferable to record two or three shots from different angles that last 2 to 3 seconds than a full 5 second sweep.
The following video is a perfect example of what NOT to do. 👉🏼
Move smoothly
Move the camera slowly and smoothly, avoiding sudden movements.
It is advisable to shoot with the help of a gimbal to get a smooth shot. See the article Mastering Gimbal Balancing to learn more about this technique.
Be aware of transitions
Be careful with changes of direction between shots (transitions). That is, if you record a shot with a sweep from left to right, try to make sure that the next shot is not another sweep in the opposite direction, as these changes do not look good after production.
When you do a pan, try to make the next shot a back-and-forth or bottom-up movement.
7. Summary
A Highlight video should be an impact video, no longer than one minute, where each scene should be short, because it is about capturing attention, not teaching (That’s what the HouseTour or Walkthrough is for).
Getting a professional video is not difficult, but it takes practice.
housiders ®


